How to Fix Daytime Running Lights (DRL) on Your Car

How to Fix Daytime Running Lights (DRL) on Your Car
Proper visibility during daylight hours is essential for ensuring road safety. Many modern vehicles are equipped with specialized lighting systems designed to enhance awareness and make your automobile more noticeable to other drivers. This presence not only aids in preventing accidents but also contributes to a vehicles overall aesthetic appeal.
However, like any component of an automobile, these illumination systems can encounter issues over time. Whether it be a malfunctioning bulb, electrical failures, or wear and tear from environmental exposure, understanding how to troubleshoot and maintain these features is paramount. Being proactive can save you from potential hazards and costly repairs down the line.
This guide will delve into various approaches to diagnosing and resolving common problems associated with your vehicle’s illumination functions. With careful attention and the right methods, you can ensure that your automobile remains visible and safe on the roads, enhancing both your driving experience and that of those around you.
Common Issues with Daytime Running Lights
Drivers often encounter various challenges with their vehicle’s illumination system designed for daylight operation. Understanding these problems can help in maintaining optimal visibility and safety on the road.
One frequent issue is the flickering or intermittent functionality of the bulbs. This can arise from poor connections, worn-out sockets, or electrical fluctuations. Ensuring all connections are secure may resolve the problem.
Another common concern is bulb burnout. Over time, even LED options can fail, resulting in one or more units ceasing to function. Regular checks can help identify burnt-out bulbs that need replacement.
Some vehicles may experience a complete failure of the system. This can stem from a blown fuse or malfunctioning relay within the circuitry. Diagnosing the electrical components is essential for restoring proper operation.
Environmental factors can also play a role; moisture intrusion or dirt accumulation can lead to decreased performance. Keeping the fixtures clean and free from debris can enhance durability.
Lastly, compatibility issues might arise when aftermarket options are installed. Ensuring that any modifications meet the vehicle’s specifications ensures smooth functionality and compliance with regulations.
Tools Required for Repairs
When addressing issues related to vehicle illumination systems, having the right instruments at your disposal is crucial. The effectiveness and efficiency of the maintenance process largely depend on the selection of appropriate tools. Whether you’re aiming to diagnose a fault or to perform a complete replacement, being well-prepared can significantly streamline your workflow.
Essential Instruments
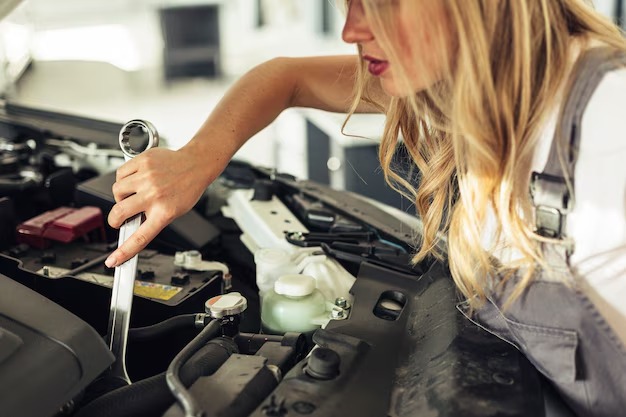
Basic hand tools such as screwdrivers, pliers, and wrenches are fundamental for accessing and manipulating various components. Additionally, using a multimeter allows you to check the electrical circuits for any faults or interruptions. A socket set will also come in handy for removing and securing any fixtures related to the assembly.
Specialized Gear
In some instances, specialized equipment like a diagnostic scanner may be required to pinpoint exact malfunctions within electronic systems. Furthermore, having a pair of safety goggles and gloves ensures personal protection while working on your vehicle. Organizing your workspace with a magnetic tray can help keep small parts secure, preventing loss during the project.
Step-by-Step Repair Guide
This section provides a concise, methodical approach to addressing issues related to your vehicle’s auxiliary illumination system. Whether you’re facing flickering, dimming, or complete failure, following these structured instructions can help restore functionality efficiently.
1. Gather Necessary Tools and Components: Before beginning, ensure you have the right equipment on hand. You will need a screwdriver set, a multimeter, and potentially replacement bulbs or wiring connectors, depending on the problem.
2. Safety First: Always prioritize safety by disconnecting the battery. This prevents any unintentional electrical shocks or shorts during the process.
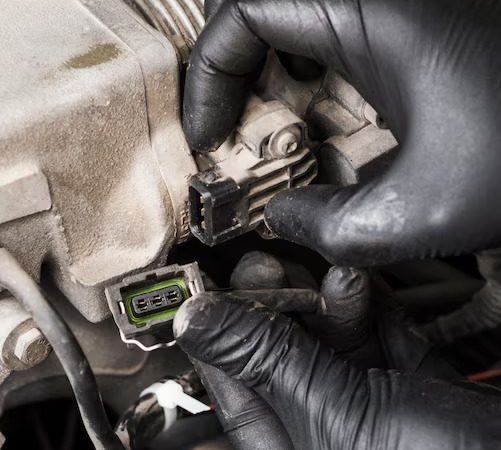
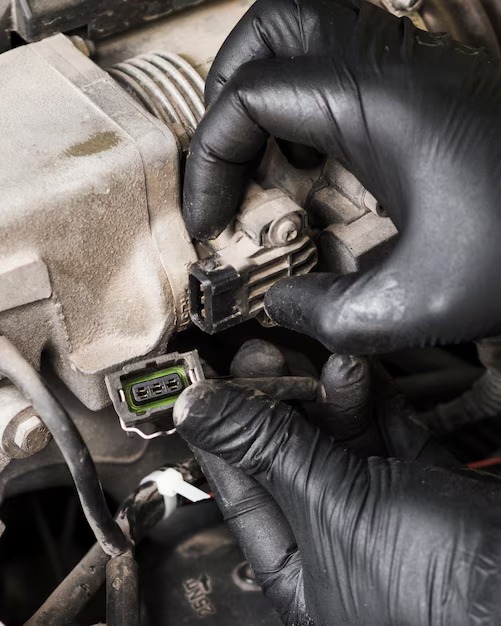
3. Inspect the Units: Start by examining the fixtures closely. Look for signs of damage, corrosion, or burnt-out bulbs. A multimeter can assist in checking for electrical continuity.
4. Replace Defective Components: If you identify faulty parts, proceed to replace them. Ensure any new bulbs are compatible and installed securely to avoid future issues.
5. Reconnect and Test: After making necessary changes, reconnect the battery and perform a functionality test. Check all associated controls to confirm that everything operates as intended.
6. Document Your Work: Finally, keep a log of what was done for future reference. This can be invaluable in case of recurring problems, providing a clear history of previous interventions.
Testing Functionality After Repairs
Once maintenance tasks have been completed, it is essential to ensure that the modified components function as intended. This process not only guarantees that all parts operate correctly but also enhances overall vehicle safety. Performing thorough assessments aids in identifying any lingering issues that may have arisen during servicing.
Key Steps for Verification
Implementing a detailed examination strategy will provide a clear picture of the effectiveness of the work carried out. Here are the primary actions to take:
| Step | Description | Recommended Action |
|---|---|---|
| 1 | Visual Inspection | Check for any physical damages or misalignments. |
| 2 | Function Test | Activate the system to confirm all settings and indicators respond appropriately. |
| 3 | Monitor Performance | Observe interactions with other vehicle electronics to ensure compatibility. |
| 4 | Final Review | Conduct a comprehensive evaluation after a test drive to identify any anomalies. |
Common Issues to Watch For
During functionality assessment, keep an eye out for recurrent problems. Abnormal flickering, inconsistent brightness, or delayed activation can all indicate underlying concerns. Documenting any discrepancies will assist in determining if further intervention is required, ensuring optimal operational reliability.
Preventive Maintenance for Longevity
Ensuring the longevity of automotive components requires diligent care and attention to detail. Regular maintenance practices not only enhance performance but also prevent unforeseen issues that might arise over time. By incorporating strategic checks and services into your routine, you can significantly extend the lifespan of essential systems.
An effective approach includes inspecting the condition of electrical systems, ensuring that connections are clean and free from corrosion. Regularly verifying the alignment and functionality of related elements also contributes to smooth operation. Replacing worn-out parts proactively can prevent costly replacements and promote overall reliability.
Additionally, practicing proper storage techniques and utilizing quality materials can have a substantial impact on durability. Keeping components free from debris and protecting them from harsh environmental factors will reduce wear and tear. Ultimately, a proactive stance on maintenance leads to enhanced efficiency and a more enjoyable driving experience.
When to Seek Professional Help
Identifying the right moment to consult an expert can significantly impact the overall performance and safety of your vehicle. Certain situations may arise where the issues exceed basic troubleshooting or require specialized knowledge to rectify effectively.
Signs You Should Not Ignore
- Frequent flickering or unresponsive illumination.
- Malfunctioning components that seem to impact other systems.
- Electrical burning smells or visible damage to wiring.
- Complex diagnostic error codes that persist after basic checks.
Benefits of Professional Assistance
- Access to advanced diagnostic tools and equipment.
- Expertise in understanding intricate vehicle systems.
- Warranty protection and assurance of quality workmanship.
- Time-saving solutions, allowing you to focus on other priorities.
Q&A: Repair of daytime running lights on cars
What is the function of the headlight switch in a vehicle?
The headlight switch controls the activation and deactivation of the headlights, allowing the driver to turn them on or off as needed, including options for high beams and low beams.
How do you know if the headlight switch is malfunctioning?
Signs of a malfunctioning headlight switch include headlights that do not turn on or off, flickering lights, or issues with activating high beams. If you experience these symptoms, it may indicate a problem with the switch.
Can I replace a faulty headlight switch myself?
Yes, replacing a faulty headlight switch can often be done as a DIY project. However, it requires some basic automotive knowledge and tools. Always refer to the vehicle’s manual for specific instructions related to your model.
What types of headlight switches are available for vehicles?
There are several types of headlight switches, including rotary switches, toggle switches, and push-button switches. Each type varies in design and functionality but serves the same primary purpose of controlling the headlights.
Is there a specific way to adjust the headlight switch for nighttime driving?
Yes, many vehicles have an adjustable headlight switch that allows drivers to set the headlights to low beam or high beam based on their needs for nighttime driving conditions. This ensures optimal visibility without blinding other drivers.
What should I do if my headlight switch is stuck?
If your headlight switch is stuck, try gently wiggling it or applying a small amount of lubricant around the base. If it remains stuck, you may need to consult a professional mechanic to avoid damaging the switch.
How does the headlight switch interact with other vehicle systems?
The headlight switch interacts with the vehicle’s electrical system and may also connect to other features such as fog lights, daytime running lights, and dashboard indicators that signal when the headlights are active.
Are there any safety concerns related to a faulty headlight switch?
Yes, a faulty headlight switch can pose significant safety risks. Inoperative headlights can lead to reduced visibility during nighttime driving or poor weather conditions, increasing the likelihood of accidents.
What is the average cost to replace a headlight switch in a vehicle?
The average cost to replace a headlight switch varies depending on the make and model of the vehicle but typically ranges from $50 to $200 for parts and labor. It’s advisable to get quotes from multiple mechanics for the best price.
Can a headlight switch affect the performance of LED headlights?
Yes, a malfunctioning headlight switch can impact the performance of LED headlights. If the switch does not provide a proper connection or signal, it may cause flickering or failure to operate altogether.
What is the purpose of DRLs in new cars?
DRLs, or daytime running lights, are designed to make your vehicle more visible during daylight hours, enhancing safety for both the driver and pedestrians.
How can I install a do-it-yourself DRL system on my truck?
To install a do-it-yourself DRL system on your truck, you’ll need a kit that includes the necessary components, such as a sensor and wiring. Follow the manual provided in the kit for step-by-step installation instructions.
What should I do if my front lights won’t turn on?
If your front lights won’t turn on, check the dashboard for any warning lights, inspect the bulbs, and ensure that the ignition is in the correct position. If the issue persists, consult a mechanic for further diagnosis.
How do ambient light sensors work in modern vehicles?
Ambient light sensors detect the amount of natural light outside and automatically adjust the headlights accordingly. This feature helps headlights automatically turn on when it gets dark or overcast.
Can using LEDs in my headlights reduce fuel consumption?
Yes, using LEDs in your headlights can reduce fuel consumption because they consume less power than traditional bulbs, which means less load on the alternator while the engine is running.
What are some common issues with the DRL system in GM vehicles?
Common issues with the DRL system in GM vehicles may include malfunctioning sensors, blown fuses, or faulty modules. Checking forums can provide insights from other users who have faced similar problems.
How can I make my vehicle more visible to motorcyclists and pedestrians?
To make your vehicle more visible to motorcyclists and pedestrians, consider using high-quality front lights and DRLs. Additionally, ensure that your taillights are functioning properly and clean for optimal visibility.
What do I need to know about replacing a headlight lamp in a BMW?
When replacing a headlight lamp in a BMW, consult the owner’s manual for specific instructions. Ensure you remove the bulb carefully to avoid damaging other components, and consider using OEM parts for better compatibility.
Are there any benefits to installing a new ambient light kit in my Audi?
Installing a new ambient light kit in your Audi can enhance the interior aesthetics, providing a better experience for passengers. It can also add modern features that improve comfort during nighttime driving.
What is the importance of using proper installation techniques when working on vehicle lights?
Using proper installation techniques when working on vehicle lights is crucial for ensuring functionality and safety. Incorrect installation can lead to accidents, reduced visibility, or damage to electrical systems in your vehicle.

